
Anything Goes Challenge Blog #58

 I'm posting this all in one blog post because I'm entering it in Anything Goes Challenge Blog's Challenge #58.   I felt the whole project was too big for one post so I've been working on posting each mini album and the toolbox in their own posts.  Today I finished up posting the mini albums on my blog, so here I posed a couple pics with a link to the individual posts.
This was a craft project that I made for my husband the Vehicle Mechanic, in and out of the USAF, for Christmas. 


To see my post on the tool box click here: Tool Box


 To see my post on the socket set click here:  Socket Set


 To see my post on the drill click here:  Drill


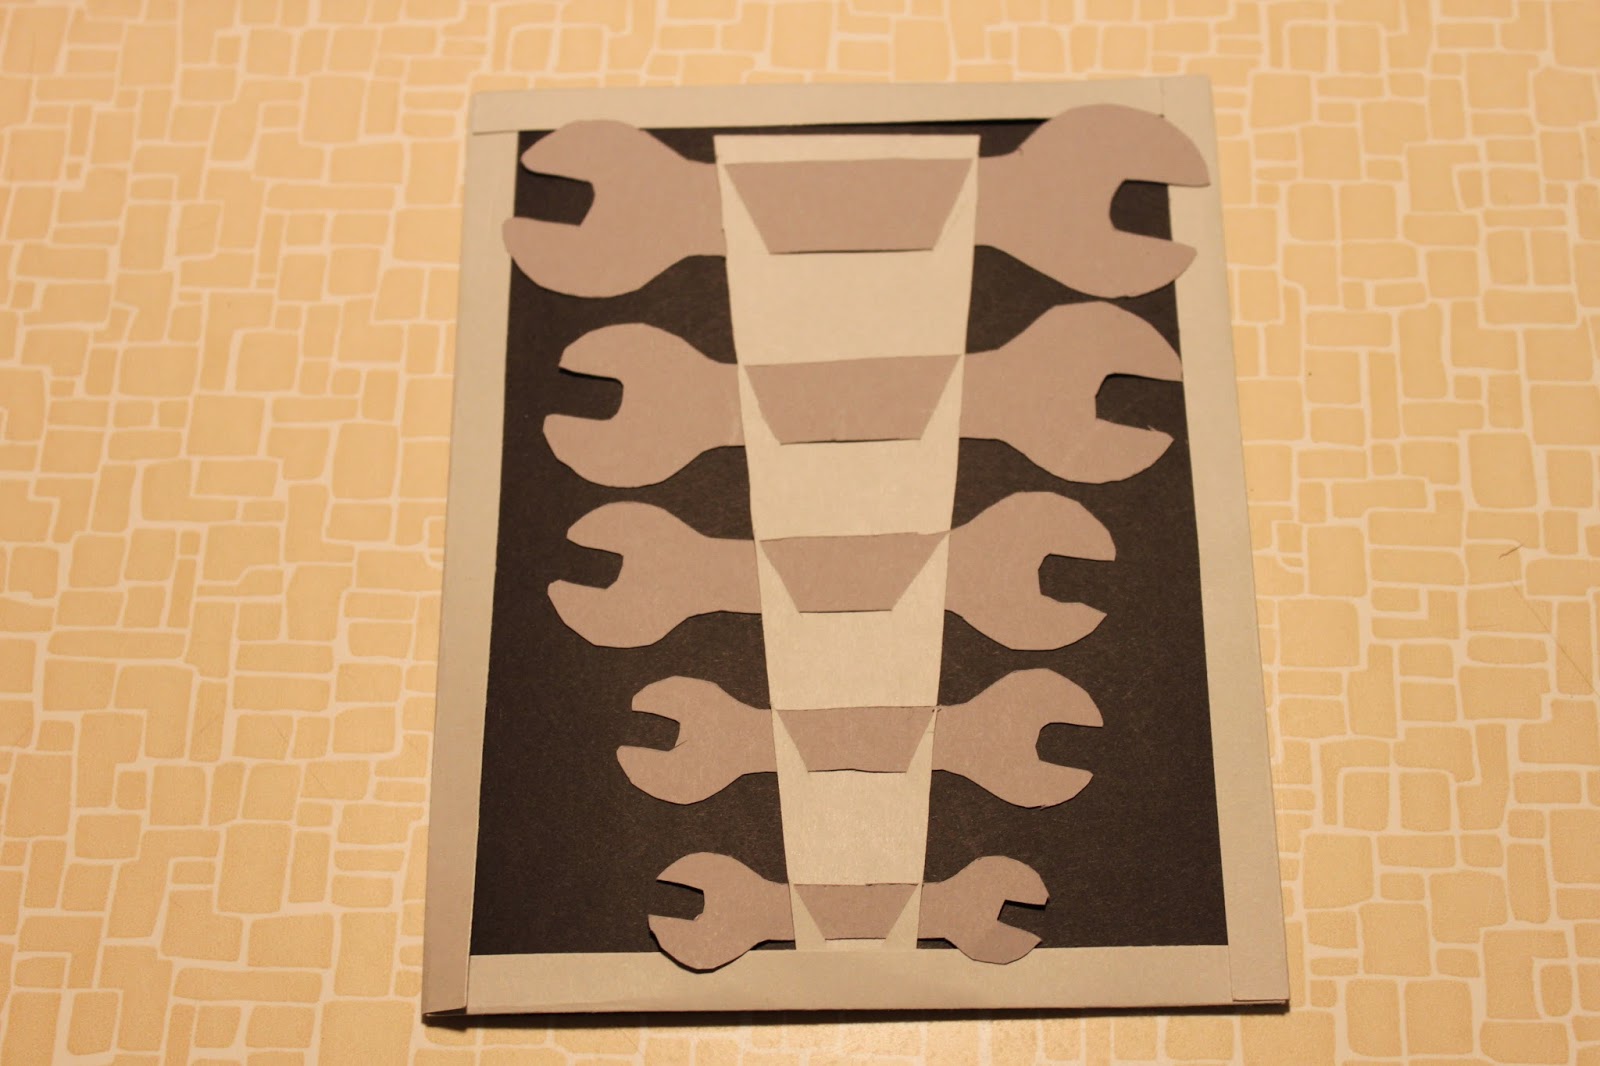
To see my post on the wrench set click here:  Wrench Set


 To see my post on the saw please click here:  Saw


To see my post on the gears please click here:  Gears

Happy Crafting!!!!

Comments

  1. This is just so creative! I LOVE the tool/album idea, and the toolbox is amazing! Such a great project! :)
    Nita
    www.niftynitanotes.blogspot.com

    ReplyDelete
  2. What a great idea, love the tools filled with fab photos,thanks for playing at anything goes this week, hugs trace x dt

    ReplyDelete
  3. Wow, what a project. Love it!
    Thanks for joining us at Anything Goes!
    Hugs Annette

    ReplyDelete
  4. wow! This tool box is fantastic!!! each tool was a cool surprise! Great job! thanks for entering my giveaway!!! Good luck!
    xoxo
    Elsa

    ReplyDelete
  5. Annette, thank you!!!

    Elsa, thank you too!!! I love your work!!!

    Kerri

    ReplyDelete
  6. This tool kit is AMAZING!! My husband is a ASE Certified Master Mechanic and he would love it!!! So creative. I am so happy that I found your blog...following you NOW! Please come follow me too :)

    ReplyDelete
  7. Velveteen Mom, thank you sooo much!! And thank you for following!!! I'll head over your way too!!

    Kerri

    ReplyDelete

Post a Comment

Popular posts from this blog

Danger ATC

This is an Artist Trading Card (ATC) that I created for the Diemond Dies' Design Team Call.  The background is a couple different mixed media techniques, mod podging tissue paper with lots of wrinkles in it and then stamping on top of it.  Then I used some Shimmerz Texturez to add even more texture and then some gray gesso is added in there too. I used some corrugated cardboard to add some texture and then I used the Tim Holtz Tattered Banners Die and Bat & Skull dies for my embellishments.   On the bat I covered it with haematite Inka Gold, buffed it and then adhered it with 3-D Dots.  The skull I gessoed, colored it with my Faber Castell Big Brush Pens and then used some Shimmerz Texturez to put the "cracks" on it. This is one of my favorite ATCs that I have ever made.  I hope you enjoyed it too!! Happy Crafting!!!!  

Time to Create a Unique View

This is an altered canvas that I created for Diemond Dies' Design Team call.  It was my first big mixed media project and I absolutely love how it turned out!!!! I got lots of different close up pics. I just love that clock piece in the corner! This view finder die is a must have, it was so much fun to use!  I cut it in black chipboard and then again in chipboard covered in white paper.  I then took the squares from the black one that I cut out and put them in the white one and it actually looks like a view finder disc!! Don't forget the sides of your canvases! So pretty! The arrow is pointing to the way to read the words for the title of the canvas, completely unintentional. Love those butterflies.  I got these in a swap but I know you can find them on Etsy! Well I hope you enjoyed my pics, if you have any questions please just ask.  As you will see in future posts I did end up making the team.

Frisky Melon!!

 I made this card for the Fantabulous Cricut Challenge Blog's Challenge Me Monday Contest!!  Yay!!  I started with a piece of pink cardstock cut at 5 1/2"x 8 1/2" and folded it in half for the base of my card.  This was from one of The Paper Company's value packs.  Then I cut a piece of black cardstock, also from The Paper Company, at 5 1/4"x 4" and used it as my first layer.  I attached this using my ATG gun. For my second layer I cut a piece of paper from the Colorbok Pattern Pack at 5"x 3 3/4".  I then wrapped a piece of grosgrain ribbon around it and secured it in the back using regular tape.  Then I attached the whole thing using my ATG gun.   I cut the watermelon at 4" using the "Stretch Your Imagination" cartridge with my Cricut Expression.  I used a black, pink and green paper, all were from The Paper Company value packs.  I attached it to the card using 3D-Dots. Then to finish off this card I added a My Pink St