
Christmas Matchboxes

My oldest son wanted matchboxes to take to school at Christmas time to give to all of his classmates.  So these are what we came up with.  

We decided to make them look like presents and sealed them with a kiss :)

I used the Stampin' Up! matchbox die to make these and it also cuts out the little labels so we used them to label them all.

Red with Green Ribbon, it was a satin Ribbon from Paper Trey Ink.

Green with Red Ribbon, Pure Poppy is the color of the ribbon, from Paper Trey Ink.


Lots of boxes!!


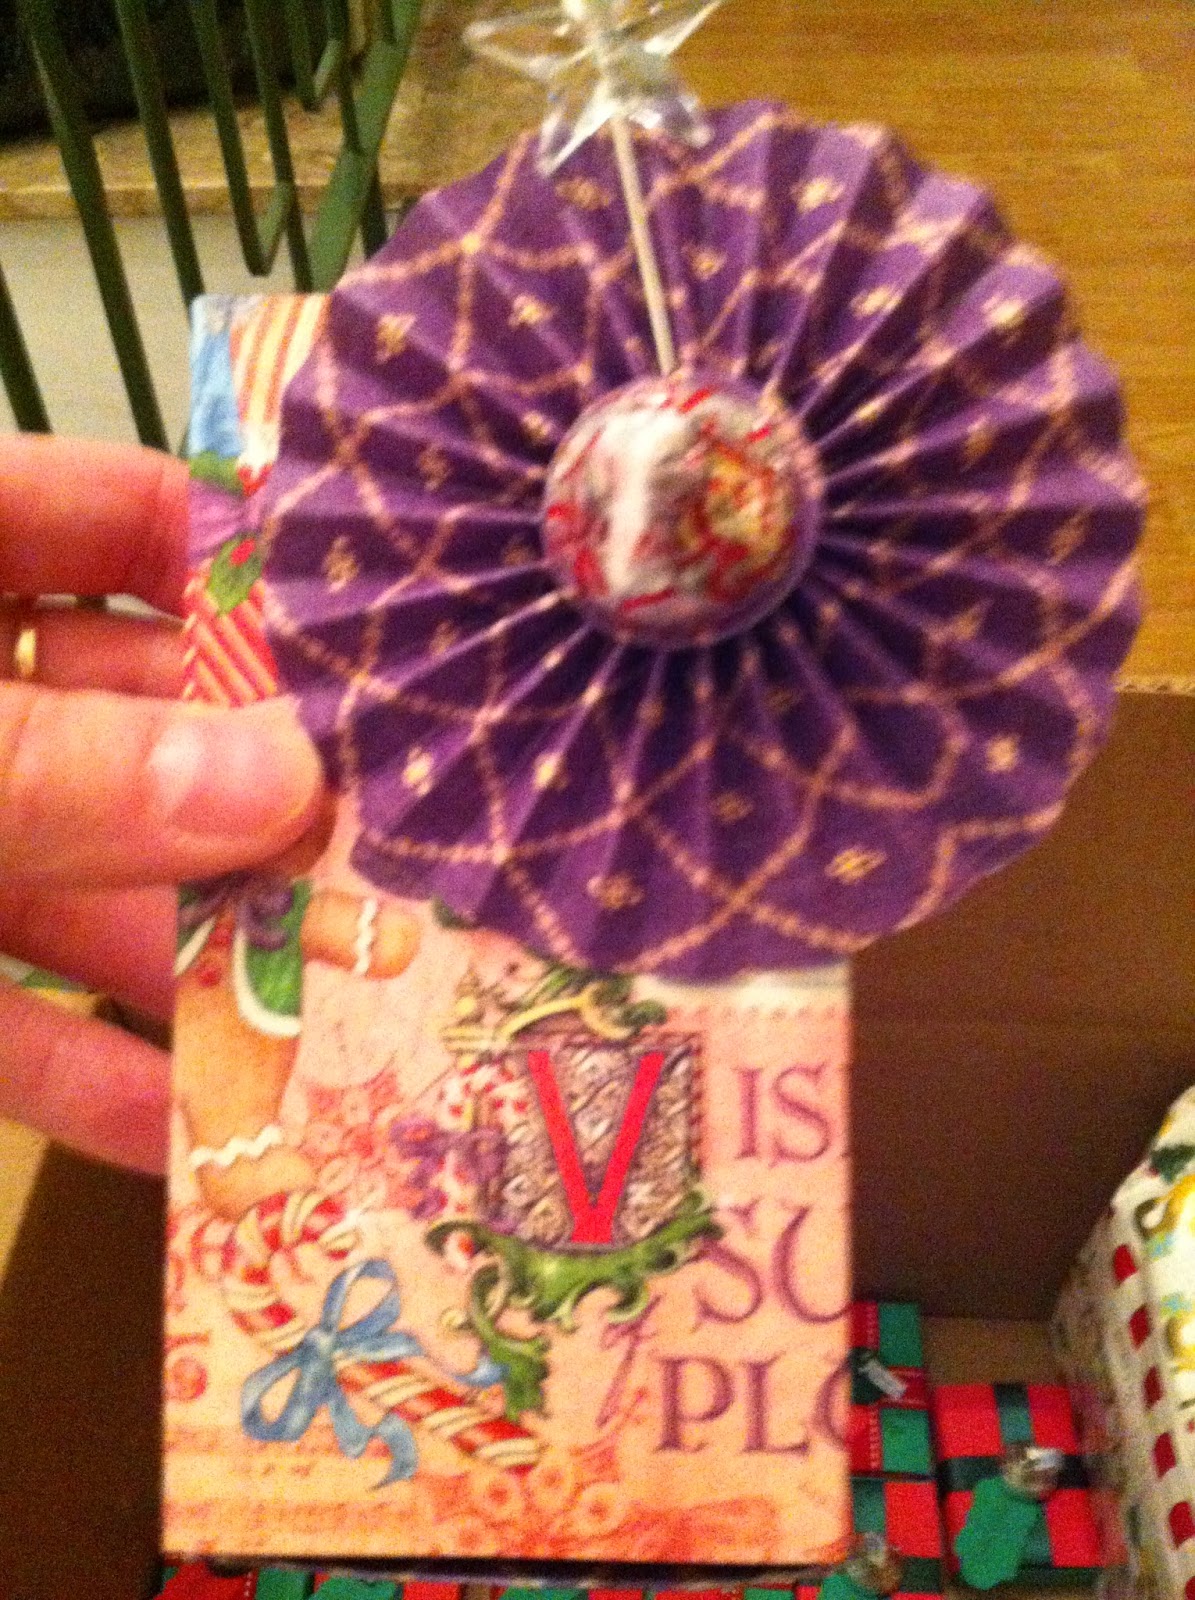
And of course a special one for his teacher!!  I used Graphic 45's Nutcracker Sweet paper to make the box and the Rosette.  The kiss seals the Rosette and then there's a star stick pin stuck in behind it. 


Sorry this is blurry,  I was trying to get some quick pics with my phone before he left with them.


A view of the side.


I hope you all enjoyed seeing these!!  I would have liked to do more to them but he asked me to do them like 2 days before his class party.  So I did what I could with the time given :)

Thanks for looking!!!!

Happy Crafting!!!!

Comments

Popular posts from this blog

Frisky Melon!!

 I made this card for the Fantabulous Cricut Challenge Blog's Challenge Me Monday Contest!!  Yay!!  I started with a piece of pink cardstock cut at 5 1/2"x 8 1/2" and folded it in half for the base of my card.  This was from one of The Paper Company's value packs.  Then I cut a piece of black cardstock, also from The Paper Company, at 5 1/4"x 4" and used it as my first layer.  I attached this using my ATG gun. For my second layer I cut a piece of paper from the Colorbok Pattern Pack at 5"x 3 3/4".  I then wrapped a piece of grosgrain ribbon around it and secured it in the back using regular tape.  Then I attached the whole thing using my ATG gun.   I cut the watermelon at 4" using the "Stretch Your Imagination" cartridge with my Cricut Expression.  I used a black, pink and green paper, all were from The Paper Company value packs.  I attached it to the card using 3D-Dots. Then to finish off this card I added a My P...

Ice Cream Card

I am so proud of this card!!!  I had an overwhelming sense of accomplishment when I finished this project.  I made this card for Fantabulous Cricut's Challenge Me Monday Contest.  The challenge was to make a project incorporating ice cream, cold drinks or just any cool treat.  It took me a couple days to get it right but I finally got it finished up last night and so I wanted to share it with you all today!!! I started with a 5.5"x8.5" piece of card stock folded in half for the base of my card.  It was a piece of brown from The Paper Company's Natural Fashion Colors value pack.  Then I cut a piece of dark orange from the same pack at 5 1/4" x 4" and used it for my first layer on the card.  I attached it using my ATG gun. Then I used a piece of paper from DCWV Animal Crackers matstack and cut the bowl.  The bowl is from the Cricut cartridge "Create a Critter" and I cut it at 3" using the real dial size button.  Also from this cartrid...

Project 7

My hubby has his own "crafting" that he does, he tears apart and rebuilds cars.  He bought a Mazda RX7 when we first arrived in Germany and he is turning it into his own little race car.  The only way I can understand it is to compare it to my crafting and he gets just as excited over car parts as I do over crafting supplies, so it must be a really awesome thing to him LOL!!!!So I wanted to make him something to recognize his project.   I took that canvas that I messed up the first canvas transfer on and I gessoed it until you could no longer see the attempt at the image transfer. First I used my Faber Castell Gelatos, metalic gold, squid ink, and silver and I randomly added them to the canvas and blended them in using my finger.  I also used my black gelato to distress the edges of the canvas and blended it with my finger.  Then I used a gears 6x6 mask from Crafters' Workshop and covered it with modeling paste and let it dry.  Once it was dry I us...